On the Application page, designate your travel dates then supply Vehicle, Axle, Load, and Overall Dimension information.
Follow the procedures from the My Queue or the Application page to open an application.
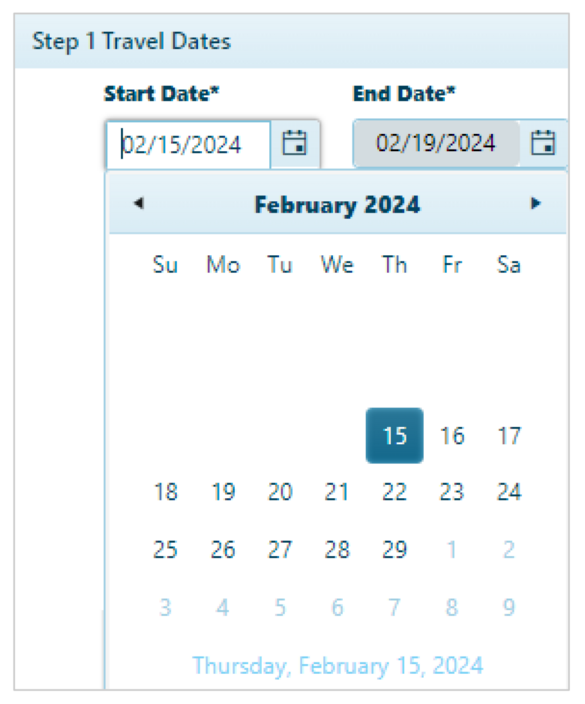
In the Travel Dates area, click the calendar icon to choose a From Date. The To Date will be calculated by the system.
In the Vehicle Configuration area, you can either choose from a table of stored vehicle or manually enter vehicle details.
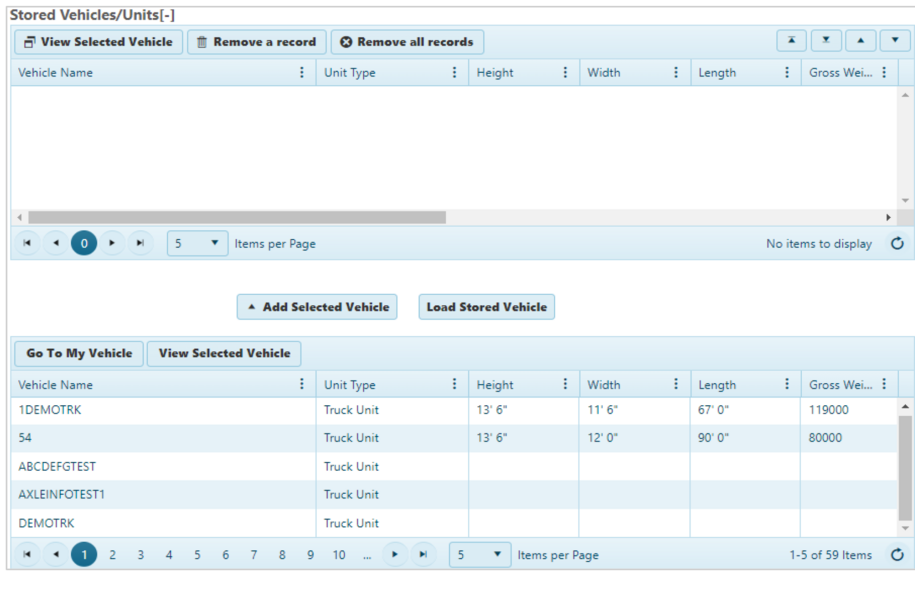
Expand the Stored Vehicles/Units section by clicking the [+] mark.
Select a vehicle from the lower table then click the Add Selected Vehicle button.
The chosen vehicle will appear in the upper table.
Select the vehicle in the upper table then click the Load Stored Vehicle button.
The data from the record will populate the Vehicle Information area of the page.
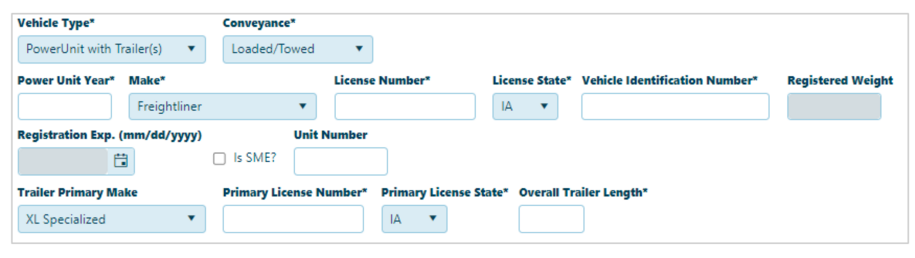
Expand the Vehicle Type drop-down then choose from the available options.
Your choice from the Vehicle Type drop-down will govern the options that appear below.
For both the Truck and Trailer, supply the License Number and the VIN then choose the state that issued the license.
Enter a Make and model Year.
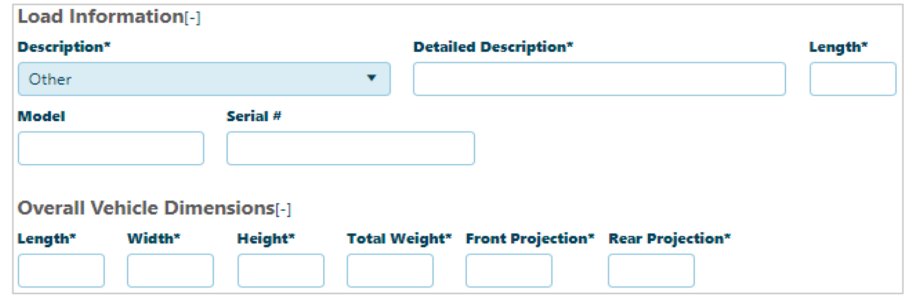
In the Load Information area, expand the Description drop-down and choose from the available options then enter the Overall Vehicle Dimensions in the fields provided.
Disabled fields (i.e., grayed-out boxes) cannot be edited; they display values from the stored vehicle information record.
In the Route Information area, enter the Origin and Destination of your trip in the fields provided, then list highways and interstates on which you will be traveling in the Route box.
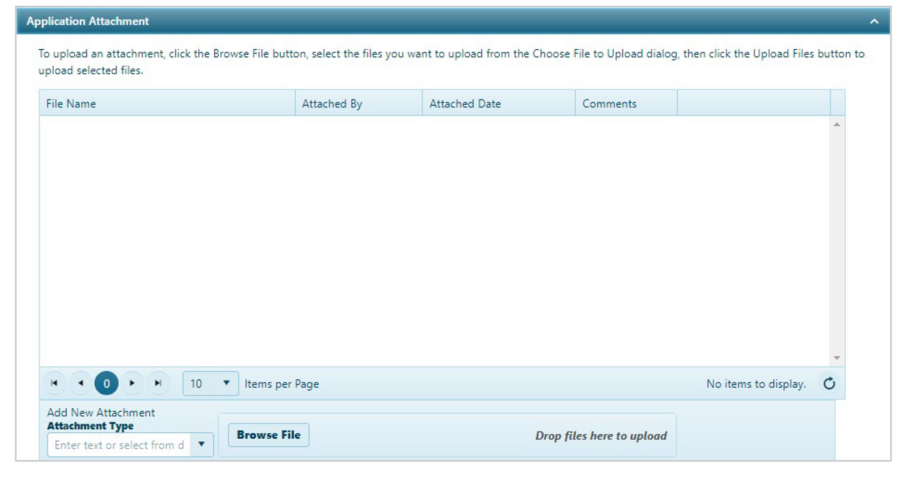
In the Application Attachment area:
Expand the Attachment Type drop-down and choose from the available options or enter a brief description of the files that you wish to attach.
Click the Browse File button and navigate to the desired document or image then click the Upload File button. The progress bar will fill while the file is attached.
When the attached file appears in the table, click the Edit button to open the Comment options.
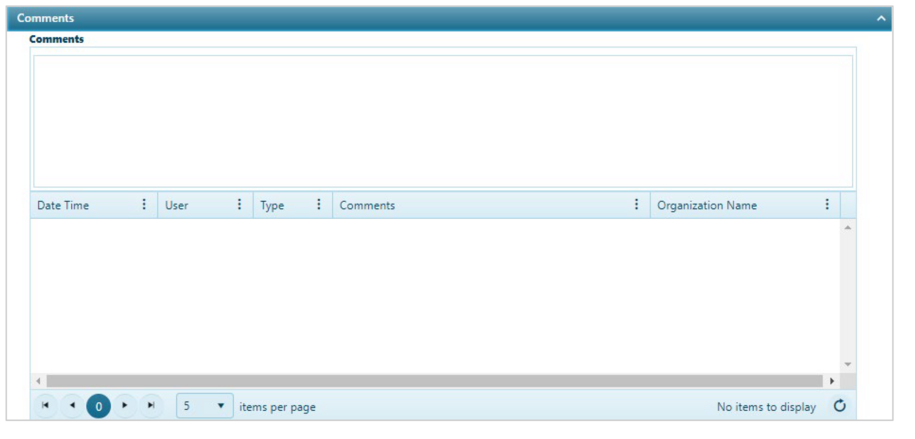
In the Comments area, enter any additional information in the text box. Previously recorded comments are organized in the table below.
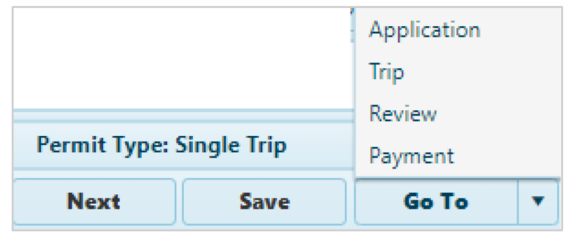
Click the Save button to avoid losing your application.
Click Next or expand the Go To drop-down on the Features bar and choose Trip.
Please see the Trip Guide for information on routing on the map page.
The Review page presents all the application information collected in one place. Carrier, Vehicle, Axle, and Load information in addition to Travel Dates and Overall Dimensions come from the Application page. Route Information comes from the Trip page. Application Attachments and Permit Restrictions come from the Restrictions page.
Only the Comments section of the Review page can be edited. To make changes to any of the other information, you must return to the appropriate page and revise the existing data.
To view the complete information click on the [+] mark next to the section you wish to expand.
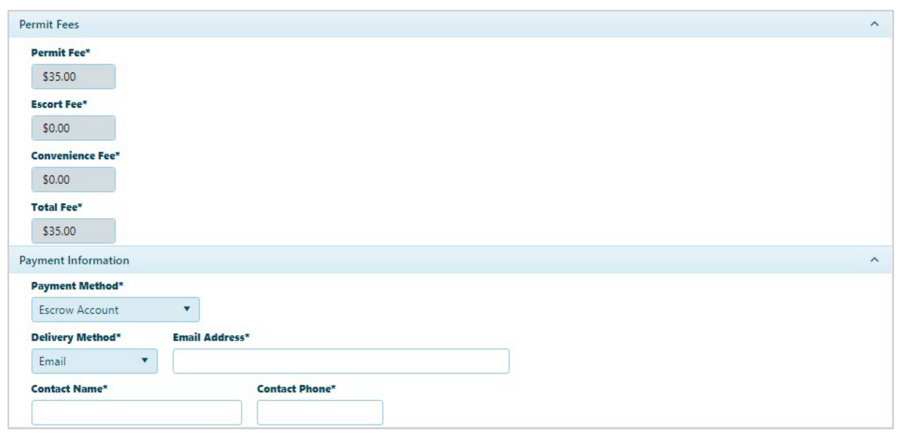
Use the Payment page to designate fees, establish a delivery method, and secure payment for permits.
Expand the Payment Method drop-down and choose from the available options. Complete any required fields that appear based on your payment type.
Choose the Delivery Method and enter the required information, your email address or fax number.
Enter the Contact’s Name and Phone.
Check the Acknowledgement box if shown at the bottom of the page.
Click the submit or issue button. If you are paying via credit card another screen asking for your payment information will appear. Follow the prompts to have your application submitted or issued.