
Content Information
On this page...
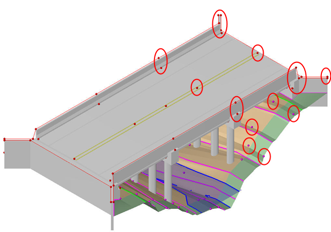
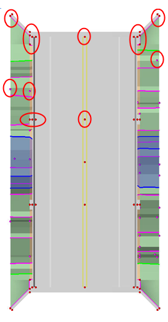
- All bridges must be shot at enough locations to map the bridge correctly in MicroStation and to convey the required information to the bridge designers.
(A few of the possible shots are located.)
- BBB – Bottom of Bridge Beam (Point)
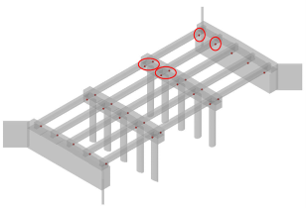
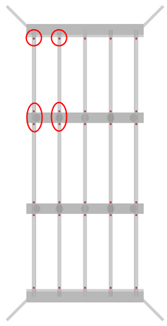
This feature is only used on bridge widening projects. A shot should be taken on the bottom of each bridge beam at all abutment and pier locations. The point description should start with the bridge ID number (BRG1, BRG2, etc.) and the beam number (Beam1, Beam2, Beam3, etc.).
(A few of the possible shots are located.)
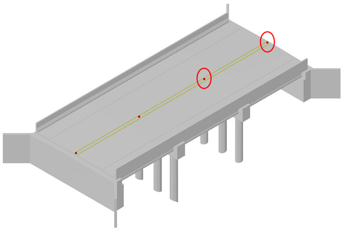
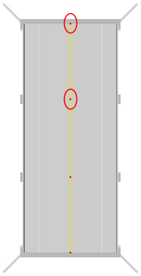
- BCL – Bridge Centerline (Point)
These shots are used to create a bridge deck profile on the centerline of the bridge. Shots should be on the centerline of the bridge and be located at the ends of the bridge and over each pier. Additional shots will be needed if the distance between these shots is over 50’. The point description should contain the bridge ID number (BRG1, BRG2, etc.).
(A few of the possible shots are located.)
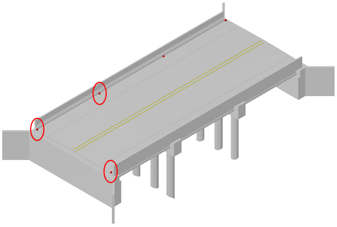
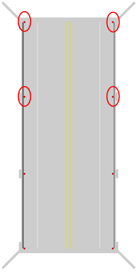
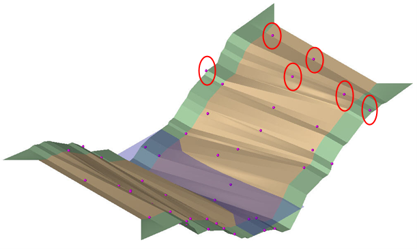
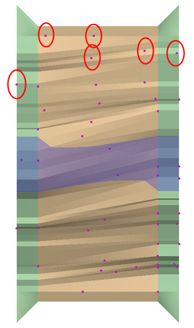
- BD – Bridge Deck (Point)
These shots are used to create a profile along the edges of the bridge deck. Shots should be on the bridge deck next to the wheel guard. The shots should be at the ends of the bridge and over each pier. Additional shots will be needed if the distance between these shots is over 50’. The point description should contain the bridge ID number (BRG1, BRG2, etc.) and on which side of the bridge the shots are located (East, West, etc.).
(A few of the possible shots are located.)
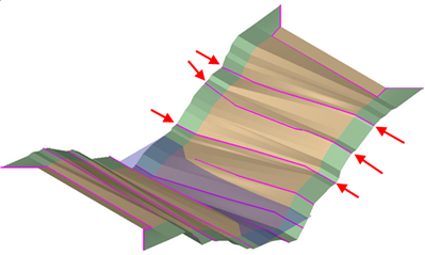
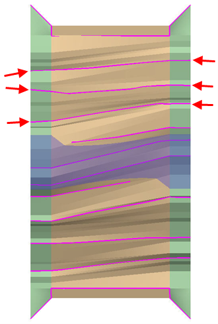
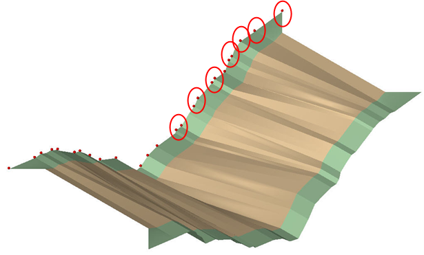
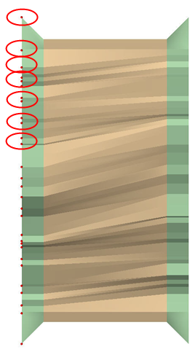
- BL – Breakline (Point and Line)
Use this feature to delineate breaks in the ground. These points and survey chains will be used to create the DTM. The point description only needs to contain information important to the customer, such as: TOP BKSLP, TOE, BENCH, etc.
(Some breaklines are located.)
- BLS – Bridge Low Steel (Point)
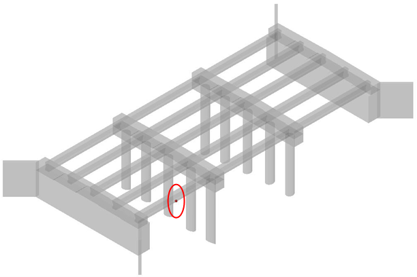
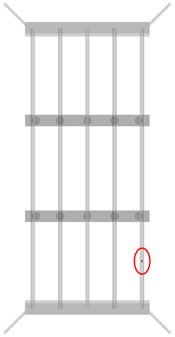
This shot represents the bottom of the lowest bridge beam, either steel or concrete. If the bridge crosses a roadway, the location of the BLS shot(s) should be above the centerline of each roadway the bridge crosses. If the bridge does not cross a roadway, the BLS should be taken at the lowest spot of the lowest beam. The point description should start with the bridge ID number (BRG1, BRG2, etc.) and a description of where the shot was taken.
(One point is located.)
- BNK – Stream Bank (Point and Line)
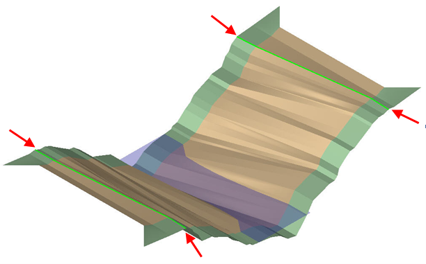
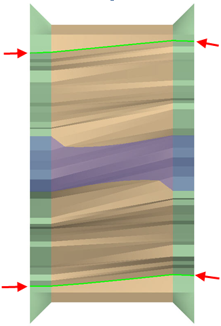
These points and survey chains represent the farthest outside edge of all stream banks. They will be used to create the DTM. (Some points are located.)
- BRG (Point and Line)
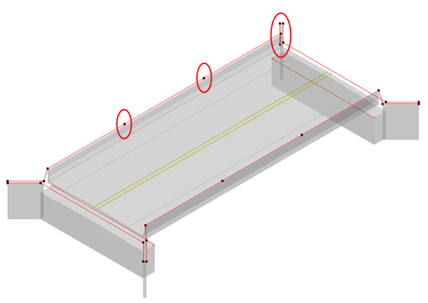
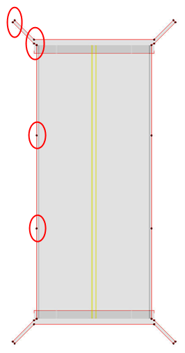
These points and survey chains are used to create the plan view drawing of the outline of the bridge. This feature is also used to outline the abutments. The abutment shots should be taken on the top of each outside exposed corner and one shot on the top at centerline. The point description should start with the bridge ID number (BRG1, BRG2, etc.) and a description of where the shot was taken. (Some points are located.)
- D & DU (Point and Line)
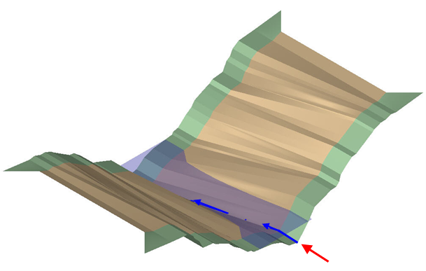
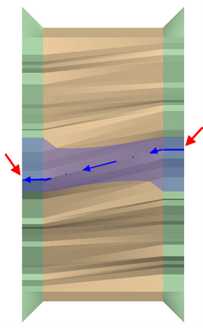
These shots place a custom line showing the flow of streams, draws, ditches, etc. For the draw down a stream bed, it should extend throughout the survey limits. The D feature should be used if the starting point of the survey chain is higher than the end of the survey chain (shooting downstream). The DU feature should be used in the opposite situation of the D feature (shooting upstream). Using these features correctly ensures that the drainage arrows will be plotted in the correct direction. These points and survey chains will be used to create the DTM. (The Draw alignment is located.)
- EW (Point and Line)
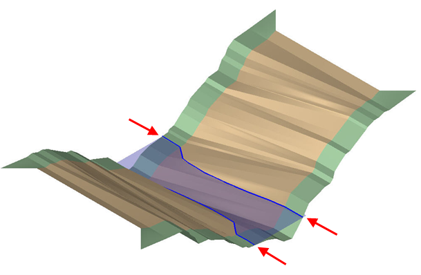
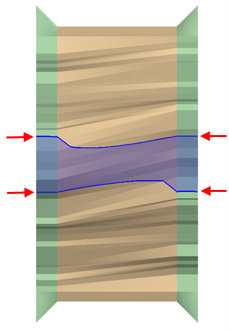
Use these points and survey chains to locate the edge of water along streams wider than 10’, and on the edges of ponds. This feature will be used in creating the DTM. (Edge of Water line is located.)
GR (Point)
This feature should be used for collecting ground shots that will improve the accuracy of the DTM. (Some points are located.)
- PRO (Point)
Profile shots should be taken on the center top of each abutment. The point description should start with the bridge ID number (BRG1, BRG2, etc.) and a description of which abutment the shot is on (N ABUT, E ABUT, etc.). (The points are located.)
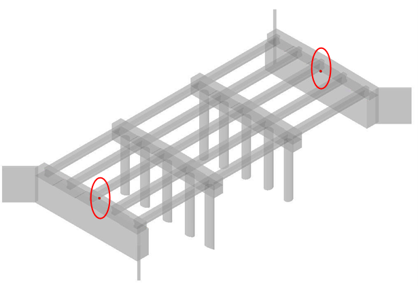
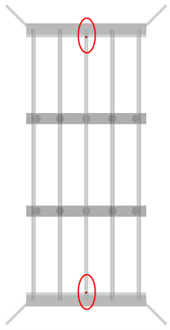
- SBR (Point)
This point denotes the center of the bridge. It may be collected in the field or created with office software. The point description should start with the bridge ID number (BRG1, BRG2, etc.), size of bridge, type of bridge, design number and drainage area. (The point is located.)
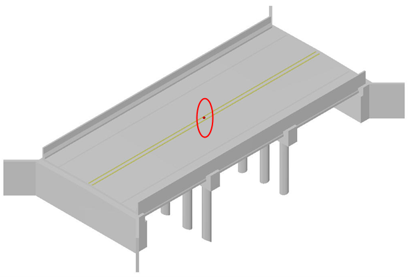
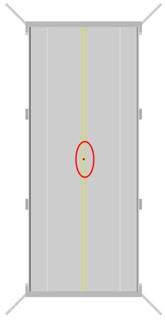
- SP (Point)
These stream profile shots are used to capture streambed elevations at certain locations. A profile of the streambed must be shot at 100-foot intervals to the survey limits. The point description should start with the bridge ID number (BRG1, BRG2, etc.) and the distance from centerline where the shot was taken. (The point is located.)
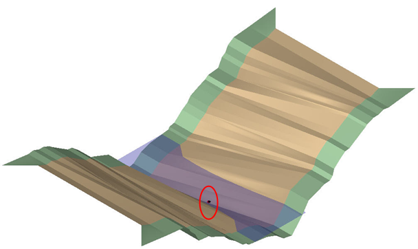
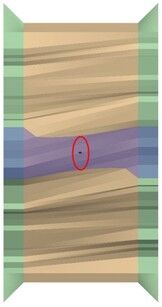
- TOP (Point and Line)
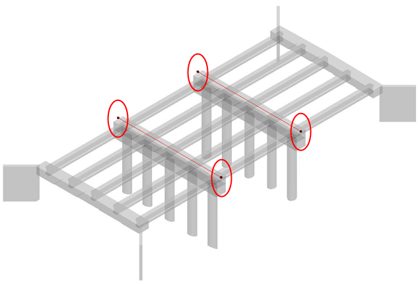
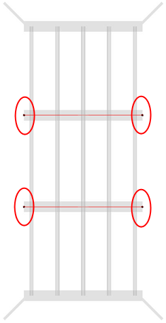
These points and survey chains should be used to shoot the tops of the piers. The shot location should be at the outside edge on the pier centerline. The point description should start with the bridge ID number (BRG1, BRG2, etc.), what side the shot was taken on and a pier description if there are multiples. (The points are located.)
- TW (Point)
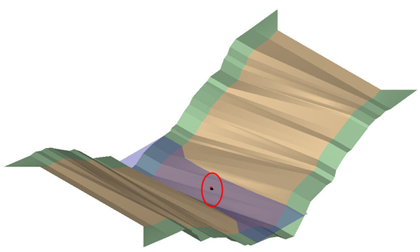
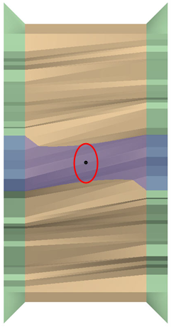
The top of water shots are used to capture water elevations at certain locations. For streams that have drainage areas of 2 to 10 square miles, a shot must be taken at the roadway centerline and at 660 feet upstream and downstream from the centerline of survey. For streams with drainage areas of ten square miles or more, two additional shots should be taken at 1320’. The tops and bases of any dams or rapids within the offset distance should also be shot using this feature. The point description should start with the bridge ID number (BRG1, BRG2, etc.) and the distance out that the shot was taken. (The point is located.)
- VS (Point)
In rural areas, valley section profiles must be shot downstream for streams with drainage areas of more than 50 square miles. In urban areas, valley section profiles must be shot downstream for streams with drainage areas of 2 square miles or greater. All valley section profiles shall be shot at right angles to the streambed and shall cover elevations at least three feet above known high water marks, both right and left of the streambed. Valley section profiles shall also be shot at the narrowest point in the valley that is within 1500 feet of the survey baseline or survey centerline. (Some points are located.)
- Depending on the survey request, there may be an option for a limited bridge survey. This limited survey would include:
- All topographical features needed to build an accurate DTM within the survey limits.
- BRG shots should be taken to show the outline of the bridge.
- BCL shots should be taken with an additional shot at the center of the bridge.
- Two BD shots should be taken at each end of the bridge at the gutter lines.
- On all bridge surveys, an edge of pavement (EP) or edge of gravel (EG) survey chain should be collected where the roadway meets the bridge. This survey chain should contain shots at each edge of pavement, centerline and any other slope changes between lanes. This survey chain serves a dual purpose as it delineates the ends of the bridge and creates a better DTM surface.